
Tips To Make Donation Drop-Offs Quick and Easy
The hall closet barely closes because three forgotten coats share space with outgrown shoes and a tote of toys the kids haven’t touched in months. The spare-room chair has quietly become home to clothes waiting on a decision. Meanwhile, plates, bowls, and cups no longer have space in the kitchen cabinets.
Eventually, the clutter stops blending into the background. It affects your well-being and hinders your everyday life. Donating starts to sound like the right move, but how do you do it? Donation drop-offs are quick and easy when you have a straightforward plan in place for decluttering the house, organizing donations, and packing the car.
Find a Convenient Drop-Off Location
Donation bags are less likely to linger in the trunk for weeks or months when the drop-off fits your existing route. Instead of picking the first result from a broad search, narrow nearby options by distance from home or the shops you usually visit. You’ll have a convenient stop that doesn’t add hours to your responsibilities for the day.
Check the Accepted Items List
Once you settle on a location, take a minute to open its donation guidelines. Accepted items vary by organization, and some belongings that seem donation-ready may fall outside the list.
A lamp or stack of old kitchenware may seem ready for donation based on appearance alone. Even if the item has value in your household, it won’t automatically qualify at every donation station. The last thing you want to do is disassemble a recliner and haul it into the car when the donation service doesn’t accept large furniture pieces.
Shoes, purses, clothes, board games, nightstands, and more are some of the items a donation center might accept. With the destination chosen and its guidelines open, the items that belong in the donation pile will be clear.
Check Each Item’s Condition
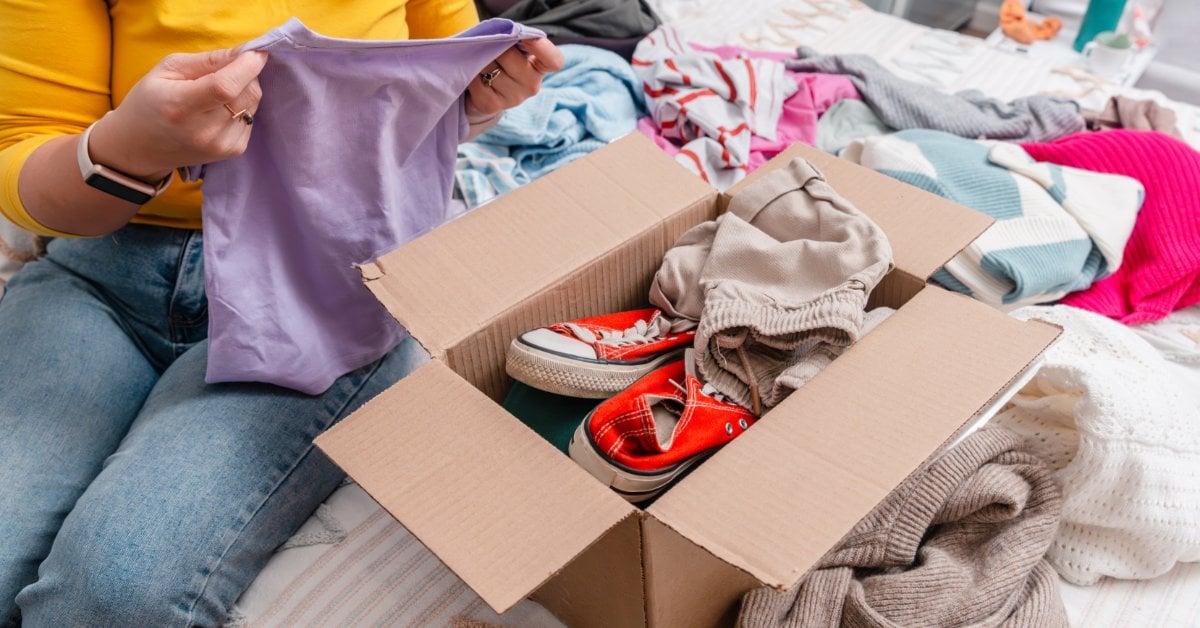
Once an item passes the category check, give it a quick once-over before placing it in a donation bag. Hold clothing up to the light, and scan it for stains or tears. Be sure that any picture frames, plates, or electronics don’t have cracks or missing pieces. These imperfections are easy to overlook when you’re focused on sorting. By catching the problems at home, you’ll keep damaged belongings out of the donation pile.
Cleaning fits naturally into the same quick check. Wash clothing before packing it and wipe down household goods, so dust or residue doesn’t travel with them. If an item still makes you hesitate after the inspection, review the organization’s condition guidelines before loading the car. A minute spent checking now saves you from reopening bags or bringing questionable items along on the drive.
Don’t Overload the Donation Bags
A roomy bag has a sneaky habit of inviting one last sweater followed by another pair of shoes. Soon, the stretching handles turn the trip from the bedroom to the car into a strength test.
Even if plenty of space remains inside, stop filling the bag once the weight becomes uncomfortable. Splitting one heavy load into two manageable bags makes the entire trip less cumbersome. You’ll have an easier time getting each bag out of the house and into the car without wrestling it through doorways. Plus, the unloading process won’t be so strenuous. An extra walk back to the car is a small tradeoff compared with straining your back over one overstuffed bag.
Spread the Weight Between Bags and Boxes
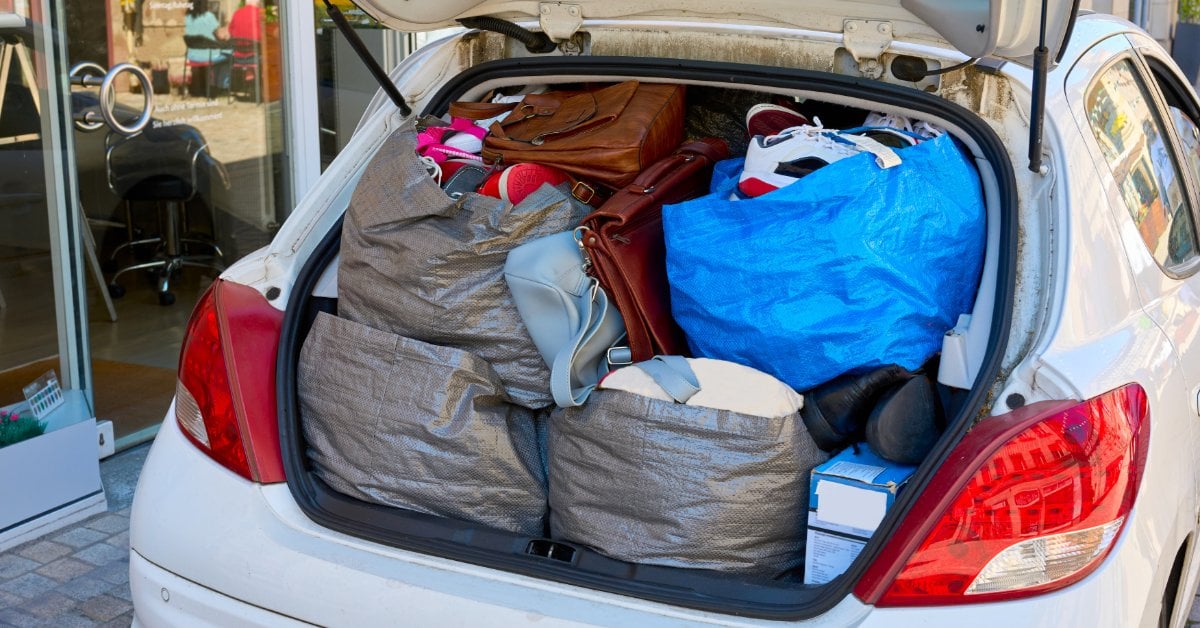
When you don’t overstuff bags and boxes, you have space to think about weight distribution. The goal isn’t a set of perfectly matched loads worthy of a packing competition. Instead, think about how each container will move from the house to the vehicle and then out again at the destination. A few intentional choices will prevent one box from becoming the surprise heavyweight of the group.
- Put dense items, such as shoes and jeans, into small containers.
- Divide kitchenware across two sturdy boxes, so every heavy piece doesn’t land in one container.
- Separate fragile household goods from heavy pieces that could shift and cause damage during transit.
- Lift each container once before loading the car to identify awkward weight imbalances.
When you’re loading up the car, think about how the containers will sit in the vehicle while driving. Set a sturdy box with heavy contents on a flat surface away from soft bags near the trunk opening. Then, leave ample room around the box handles so that every pair of hands has a clear grip. These thoughtful packing methods will prevent you from hurting your body or damaging donations along the way.
Clear Out Your Car Before Loading
Family cars collect belongings like the catch-all bowl on the dining room table. A sweatshirt, a teddy bear, and loose baseballs stuffed in the trunk could look like they’re items to donate. When you have a mix of your family’s belongings with the donations, it’s tough to distinguish the items when you’re dropping off bag after bag.
It’s best to clear away unrelated belongings before any donation bags enter the vehicle. Not only will the extra space ease loading and unloading, but you’ll decrease the risk of handing over something that your household values.
Check the trunk floor and back seat for any items your family wants to hold onto. Place it all in a basket, and take it into the house. You can unload the items back to their rightful place following the donation drop-off. This extra step is much simpler than trying to recover your favorite jacket or your toddler’s cherished toy.
Make Your Next Drop-Off a Breeze
Donation day doesn’t require an in-depth planning process. All that a donation takes is a little preparation and a few small actions for a quick and easy drop-off.
Common Threads makes it simple to donate to trusted nonprofit partners through convenient charitable donation drop-offstations. With the drop-off map, you can choose a station that’s close to your workplace or a frequented shopping center. The donation pile will leave the house, and the rest of the day will keep rolling on.